
In this article Infobae brings all the keyboard shortcuts and gestures you have on an Apple computer or laptop ; be it MacBook, MacBook Air, MacBook Pro, Mac or iMac, from the simplest to the most complex. The idea is that you have a guide with everything, and then the user decides for himself which of them will be most useful to memorize or try. Because obviously you can't memorize them all, but for some specific tasks that are performed periodically, there may be some that are especially useful.
Next will be a collection of macOS gestures and shortcuts, so that all users can make the most of a Mac. Because sometimes a keystroke can be faster than clicking on a web page and searching for the corresponding option in one or another menu.
PUBLICIDAD
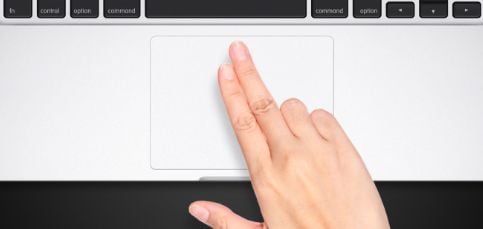
Gestures for the trackpad
You have to start with the basics, which are gestures that you can use on the trackpad to perform various actions without having to open menus or use the keyboard. These gestures range from simple gestures such as touch-to-click to other multi-finger gestures:
PUBLICIDAD
- Tap with one finger: one tap or click.
- Press with two fingers: right click.
PUBLICIDAD
- Double tap with two fingers: smart zoom, zooming in or out of a website.
- Two-finger swipe up or down: scroll through a website or page, moving it up or down.
PUBLICIDAD
- Two-finger pinch: zoom in or out depending on whether you pinch outward or inward.
- Move two fingers around each other: this is the rotation gesture, to rotate photos or items.
PUBLICIDAD
- Swipe left or right with two fingers: swipe page, and depending on which side you swipe your fingers you will go to the next or previous page.
- Swipe left with two fingers from the right edge: show the notification center.
PUBLICIDAD
- Three-finger drag: move an item to the screen. Then press to release.
- Three-finger tap: search and data detection. With the gesture, you'll search for a word or perform an action with dates, addresses, phone numbers, or other data.
PUBLICIDAD
- Separate the thumb and three fingers: this kind of pinching outward with several fingers is displayed on the desktop.
- Pinch with thumb and three fingers: This multi-finger pinch shows the Launchpad.
PUBLICIDAD
- Swipe up with four fingers: open Mission Control.
- Four-finger swipe down: show all windows of the app you're using.
- Swipe left or right with four fingers: switch from one desktop to another and toggle between full-screen apps.
Mouse gestures
Now we need to continue with a small compilation of other gestures, in this case performing them with the Apple touchpad. So, these are gestures that require a Magic Mouse or a compatible alternative to be used:
- Click on the left side: left click or normal click.
- Click on the right side: right click.
- Swipe up or down: it will scroll through the page you are on, sliding it up or down.
- Double tap with one finger: smart zoom, zooming in or out of a web.
- Double tap with two fingers: Mission Control will open.
- Swipe left or right with two fingers: switch from one desktop to another and toggle between full-screen apps.
- Swipe left or right: swipe page, and depending on which side you swipe your fingers you will go to the next or previous page.
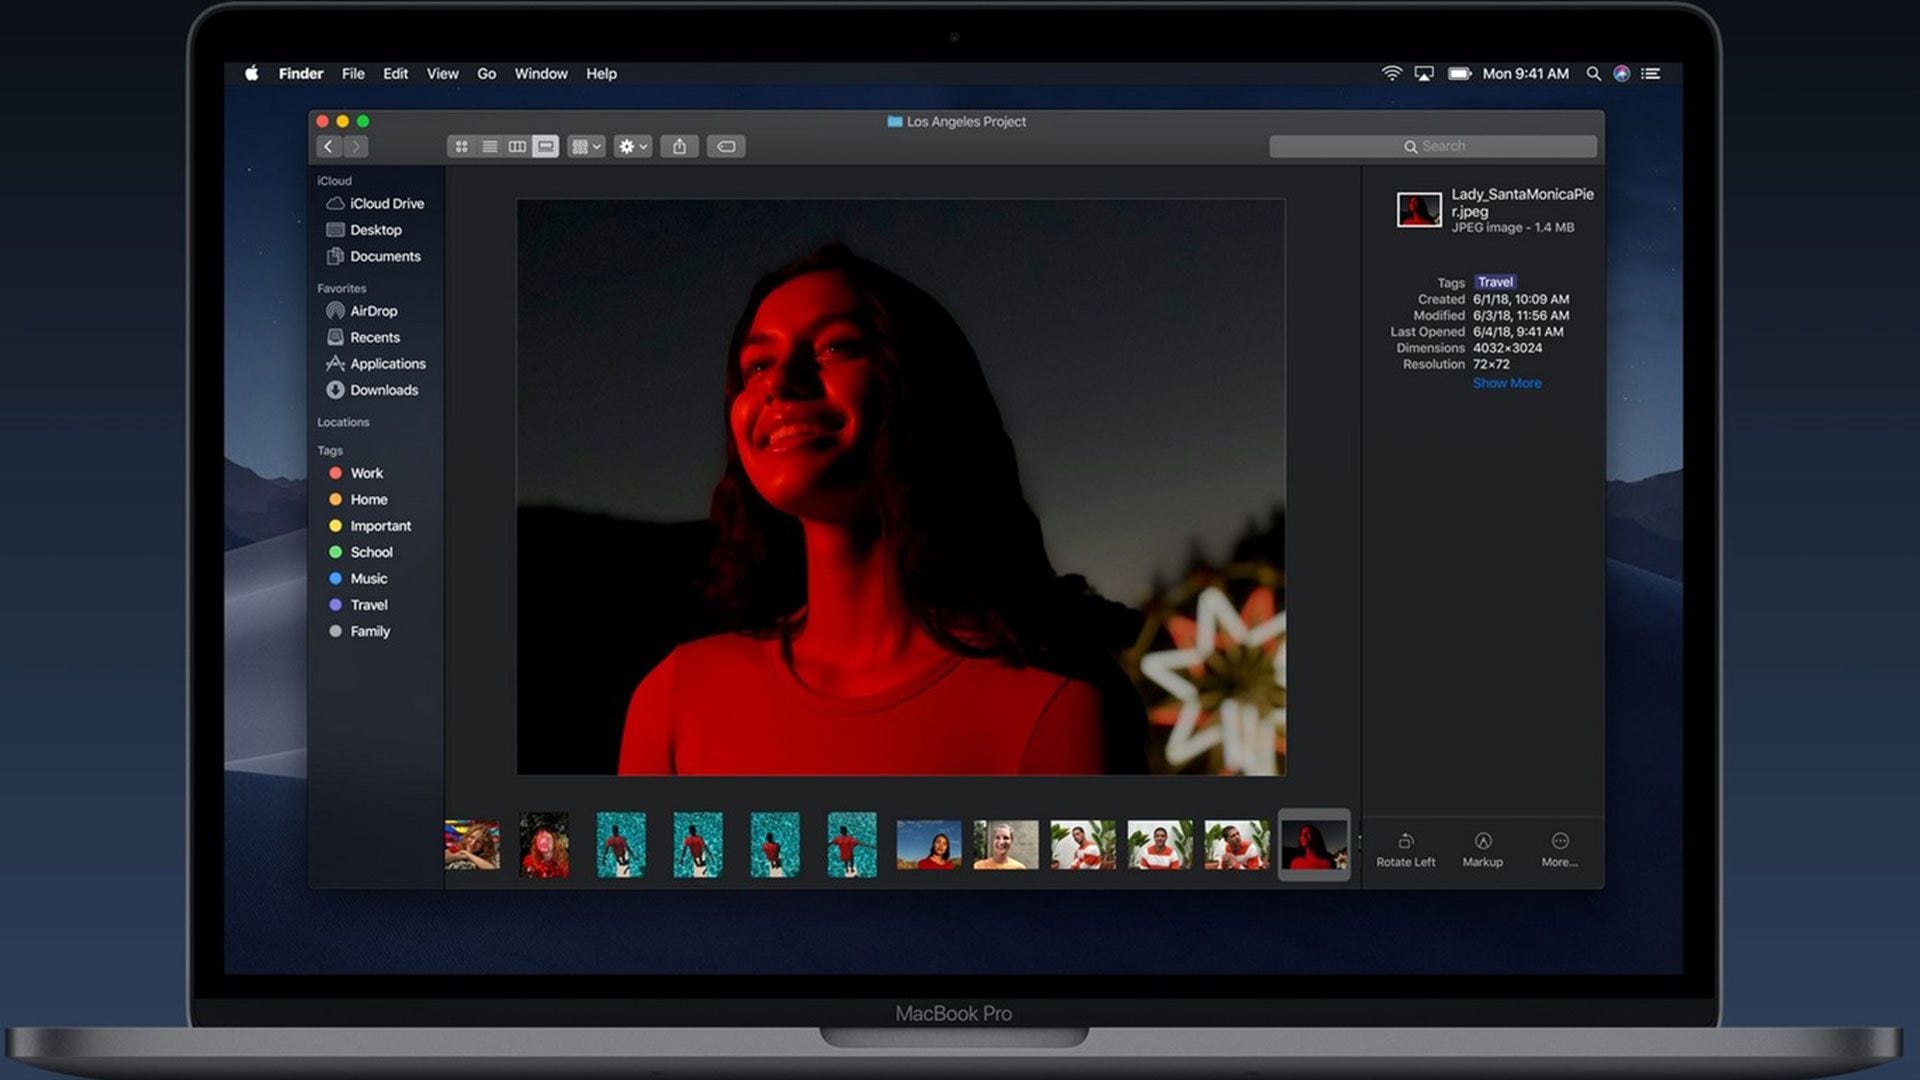
Shortcuts for Finder
- ⌘ + D: duplicate the files you have selected.
- ⌘ + E: ejects the selected disk or volume.
- ⌘ + F: open Spotlight to search for content within the Finder window.
- ⌘ + I: The information window of the selected file is displayed.
- ⌘ + R: has several uses. When an alias is selected, its original file is displayed. In some apps such as the calendar or browser, the information is updated. It also reloads the check for updates on the Software Update screen
- Shift+⌘ + C: open the Equipment window.
- Shift+⌘ + D: open the Desktop folder.
- Shift+⌘ + F: open the Recents window.
- Shift+⌘ + G: open the Go to Folder window.
- Shift+⌘ + H: open the home folder of the account of the user being used.
- Capitalization + ⌘ + I: open the iCloud folder.
- Shift+⌘ + K: open the Network window.
- Shift+⌘ + L: open the Downloads folder.
- Shift+⌘ + N: create a new folder within the Finder.
- Shift+⌘ + O: open the Documents folder.
- Shift+⌘ + P: open or close the preview pane in windows.
- Shift+⌘ + R: open the AirDrop function.
- Shift+⌘ + T: opens or closes the tab bar in the Finder.
- Shift+⌘ + T: if an element is selected, it is added to the sidebar.
- Control+Shift+⌘ + T: the selected item is added to the Dock.
- Shift+⌘ + U: open the utilities folder.
- Shift+⌘ + D: the Dock is shown or hidden.
- Shift+⌘ + S: open or close the sidebar of Finder windows.
- ⌘ + Bar (/): open or close the status bar.
- ⌘ + J: display options are displayed.
- ⌘ + K: open options for connecting to a server.
- Control + ⌘ + A: create an alias for the selected item.
- ⌘ + N: open a new window.
- Option + ⌘ + N: create a smart folder.
- ⌘ + T: Shows or hides the tab bar when only one tab is open.
- Option + ⌘ + T: shows or hides the toolbar when only one tab is open.
- Option + ⌘ + V: paste the files you have on the clipboard.
- ⌘ + Y: when you have a file selected, its preview is displayed.
- Option + ⌘ + Y: watch a slideshow to see the contents of the selected files.
- ⌘ + 1: make Finder items look like icons.
- ⌘ + 2: make Finder items look like a list.
- ⌘ + 3: make Finder items look in columns.
- ⌘ + 4: make Finder items appear in a gallery.
- ⌘ + Left bracket ([): go to the previous folder.
- ⌘ + Right bracket (]): go to the next folder.
- ⌘ + Up Arrow: Open the folder where the current folder is located.
- ⌘ + Control + Up Arrow: open the folder in which the current folder is located in a new window.
- ⌘ + Down Arrow: open the selected item.
- Right Arrow: Open the selected folder if the list view is used.
- Left arrow: close the selected folder if the list view is used.
- ⌘ + Delete: deletes the selected item. He's going to the trash can.
- Shift+⌘ + Delete: empty the trash bin with confirmation dialog. The elements in it are lost forever.
- Option + Shift+⌘ + Delete: empty the trash bin without confirmation dialog. The elements in it are lost forever.
- ⌘ + Brightness Down: Video mirroring is enabled or disabled if you have more than one screen connected.
- Option+any brightness key: open the screen preferences screen.
- Control+any brightness key: modify the brightness of the external display.
- Option + Shift+any brightness key: change the brightness of the screen, but at smaller intervals than normal.
- Option + Shift Control + any brightness key: change the brightness of the external display, but at smaller intervals than normal.
- Option + Mission Control: open Mission Control preferences.
- ⌘ + Mission Control: the desktop is displayed.
- Control+Down Arrow: all application windows are displayed in the foreground
- Option + Any volume key: open sound preferences.
- Option + Shift+Volume Up or Down: Adjust the sound volume on your Mac, but at smaller intervals than normal.
- Option + Any keyboard brightness button: open keyboard preferences.
- Option + Shift+Up/Down Keyboard Brightness: Adjust the keyboard brightness, but at smaller intervals than normal.
- Option+Double Click: open the item in another window, closing the current one.
- Command + Double Click: open a folder in another tab or window.
-Command + Drag to another volume: Move the item you drag to the new volume instead of copying it.
- Option + Drag an item: copy the item you drag.
- Option + Command + Drag an item: Create an alias of the item you drag.
- Option+ Click on a drop-down triangle: open all folders in the selected folder, but only if you have the list view.
- ⌘ + Click on the title of the window: the folders in the active folder are displayed.
Quick functions
Below are functions with what are perhaps some of the most important keyboard shortcuts, since they are shortcuts to some of the shortcuts that are basic to the operation of the operating system. Copy, paste, create, undo, search, minimize, or even print the items in the foreground:
- ⌘ + X: cut the element you have selected and take it to the clipboard.
- ⌘ + C: Copy the item you have selected and take it to the clipboard. It can also be used for Finder files.
- ⌘ + V: the last item you had on the clipboard is pasted. It can also be used for Finder files.
- ⌘ + Z: undoes the last action that was done.
- Shift + ⌘ + Z: Redo what was previously undone.
- ⌘ + A: Select all the elements that are on the active screen.
- ⌘ + F: open a search engine, and type the term you want to find on the active screen or document.
- ⌘ + G: Once the search function is open, this shortcut navigates to the following items that match what you searched for.
- Shift+⌘ + G: With the search function open, this shortcut navigates through the previous items that match what you searched for.
- ⌘ + H: hides the windows of the application in the foreground. You can see the app in the foreground and hide the other apps by pressing Option+ ⌘ + H,.
- ⌘ + M: the window in the foreground is minimized to the Dock.
- Option + ⌘ + M: all windows open to the Dock are minimized.
- ⌘ + O: the shortcut to open a selected item, or open a dialog box where you can select the file you want to open.
- ⌘ + P: print the document in the foreground.
- ⌘ + S: save the document in the foreground.
- ⌘ + W close the window in the foreground.
- Option + ⌘ + W: close all windows of an app.
- ⌘ + T: open a new tab
- Option + ⌘ + Esc: forces the exit of the app being used.
- ⌘ + Space: show or hide the Spotlight search field
- Control + ⌘ + Space: the virtual keyboard is displayed to select emojis and other symbols.
- Control + ⌘ + F: extends the application you use to full screen.
- Space: When you have an item selected, open Quick View to view it.
- ⌘ + Tab: between the apps you have open, switch to the next one in recently used apps.
- Shift+ ⌘ + 5: Starting with macOS Mojave, you take a screenshot or start a screen recording. Other screenshot commands are Shift+⌘ + 3 and Shift+⌘ + 4.
- Shift+ ⌘ + N: create a new folder in the Finder.
- ⌘ + Comma (,): open the options of the app that you have in the foreground.
Sleep and shut down your computer
- Power button: Press to turn on your Mac or to exit sleep mode. In addition, holding down for two seconds will put your Mac to sleep, and holding it down longer will shut down your computer.
- Option + ⌘ + Power button: puts your Mac into sleep mode.
- Control+Shift+Power button: The screen goes to sleep, but the Mac is still on.
- Control + Power button: The shutdown dialog is displayed, where you can choose whether to shut down your Mac, restart it or put it to sleep.
- Control + ⌘ + Power button: the Mac is forced to restart.
- Control + Option + ⌘ + Power button: quit all your open applications and shut down your Mac.
- Control + ⌘ + Q: the screen is locked.
- Capitalization + ⌘ + Q: The session is closed with the user account, although permission will be requested first.
- Option + Shift+⌘ + Q: The session is closed with the user account, but without asking for permission.
KEEP READING
PUBLICIDAD
PUBLICIDAD
Últimas Noticias
Debanhi Escobar: they secured the motel where she was found lifeless in a cistern
Members of the Specialized Prosecutor's Office in Nuevo León secured the Nueva Castilla Motel as part of the investigations into the case

The oldest person in the world died at the age of 119
Kane Tanaka lived in Japan. She was born six months earlier than George Orwell, the same year that the Wright brothers first flew, and Marie Curie became the first woman to win a Nobel Prize

Macabre find in CDMX: they left a body bagged and tied in a taxi
The body was left in the back seats of the car. It was covered with black bags and tied with industrial tape

The eagles of America will face Manchester City in a duel of legends. Here are the details
The top Mexican football champion will play a match with Pep Guardiola's squad in the Lone Star Cup

Why is it good to bring dogs out to know the world when they are puppies
A so-called protection against the spread of diseases threatens the integral development of dogs


